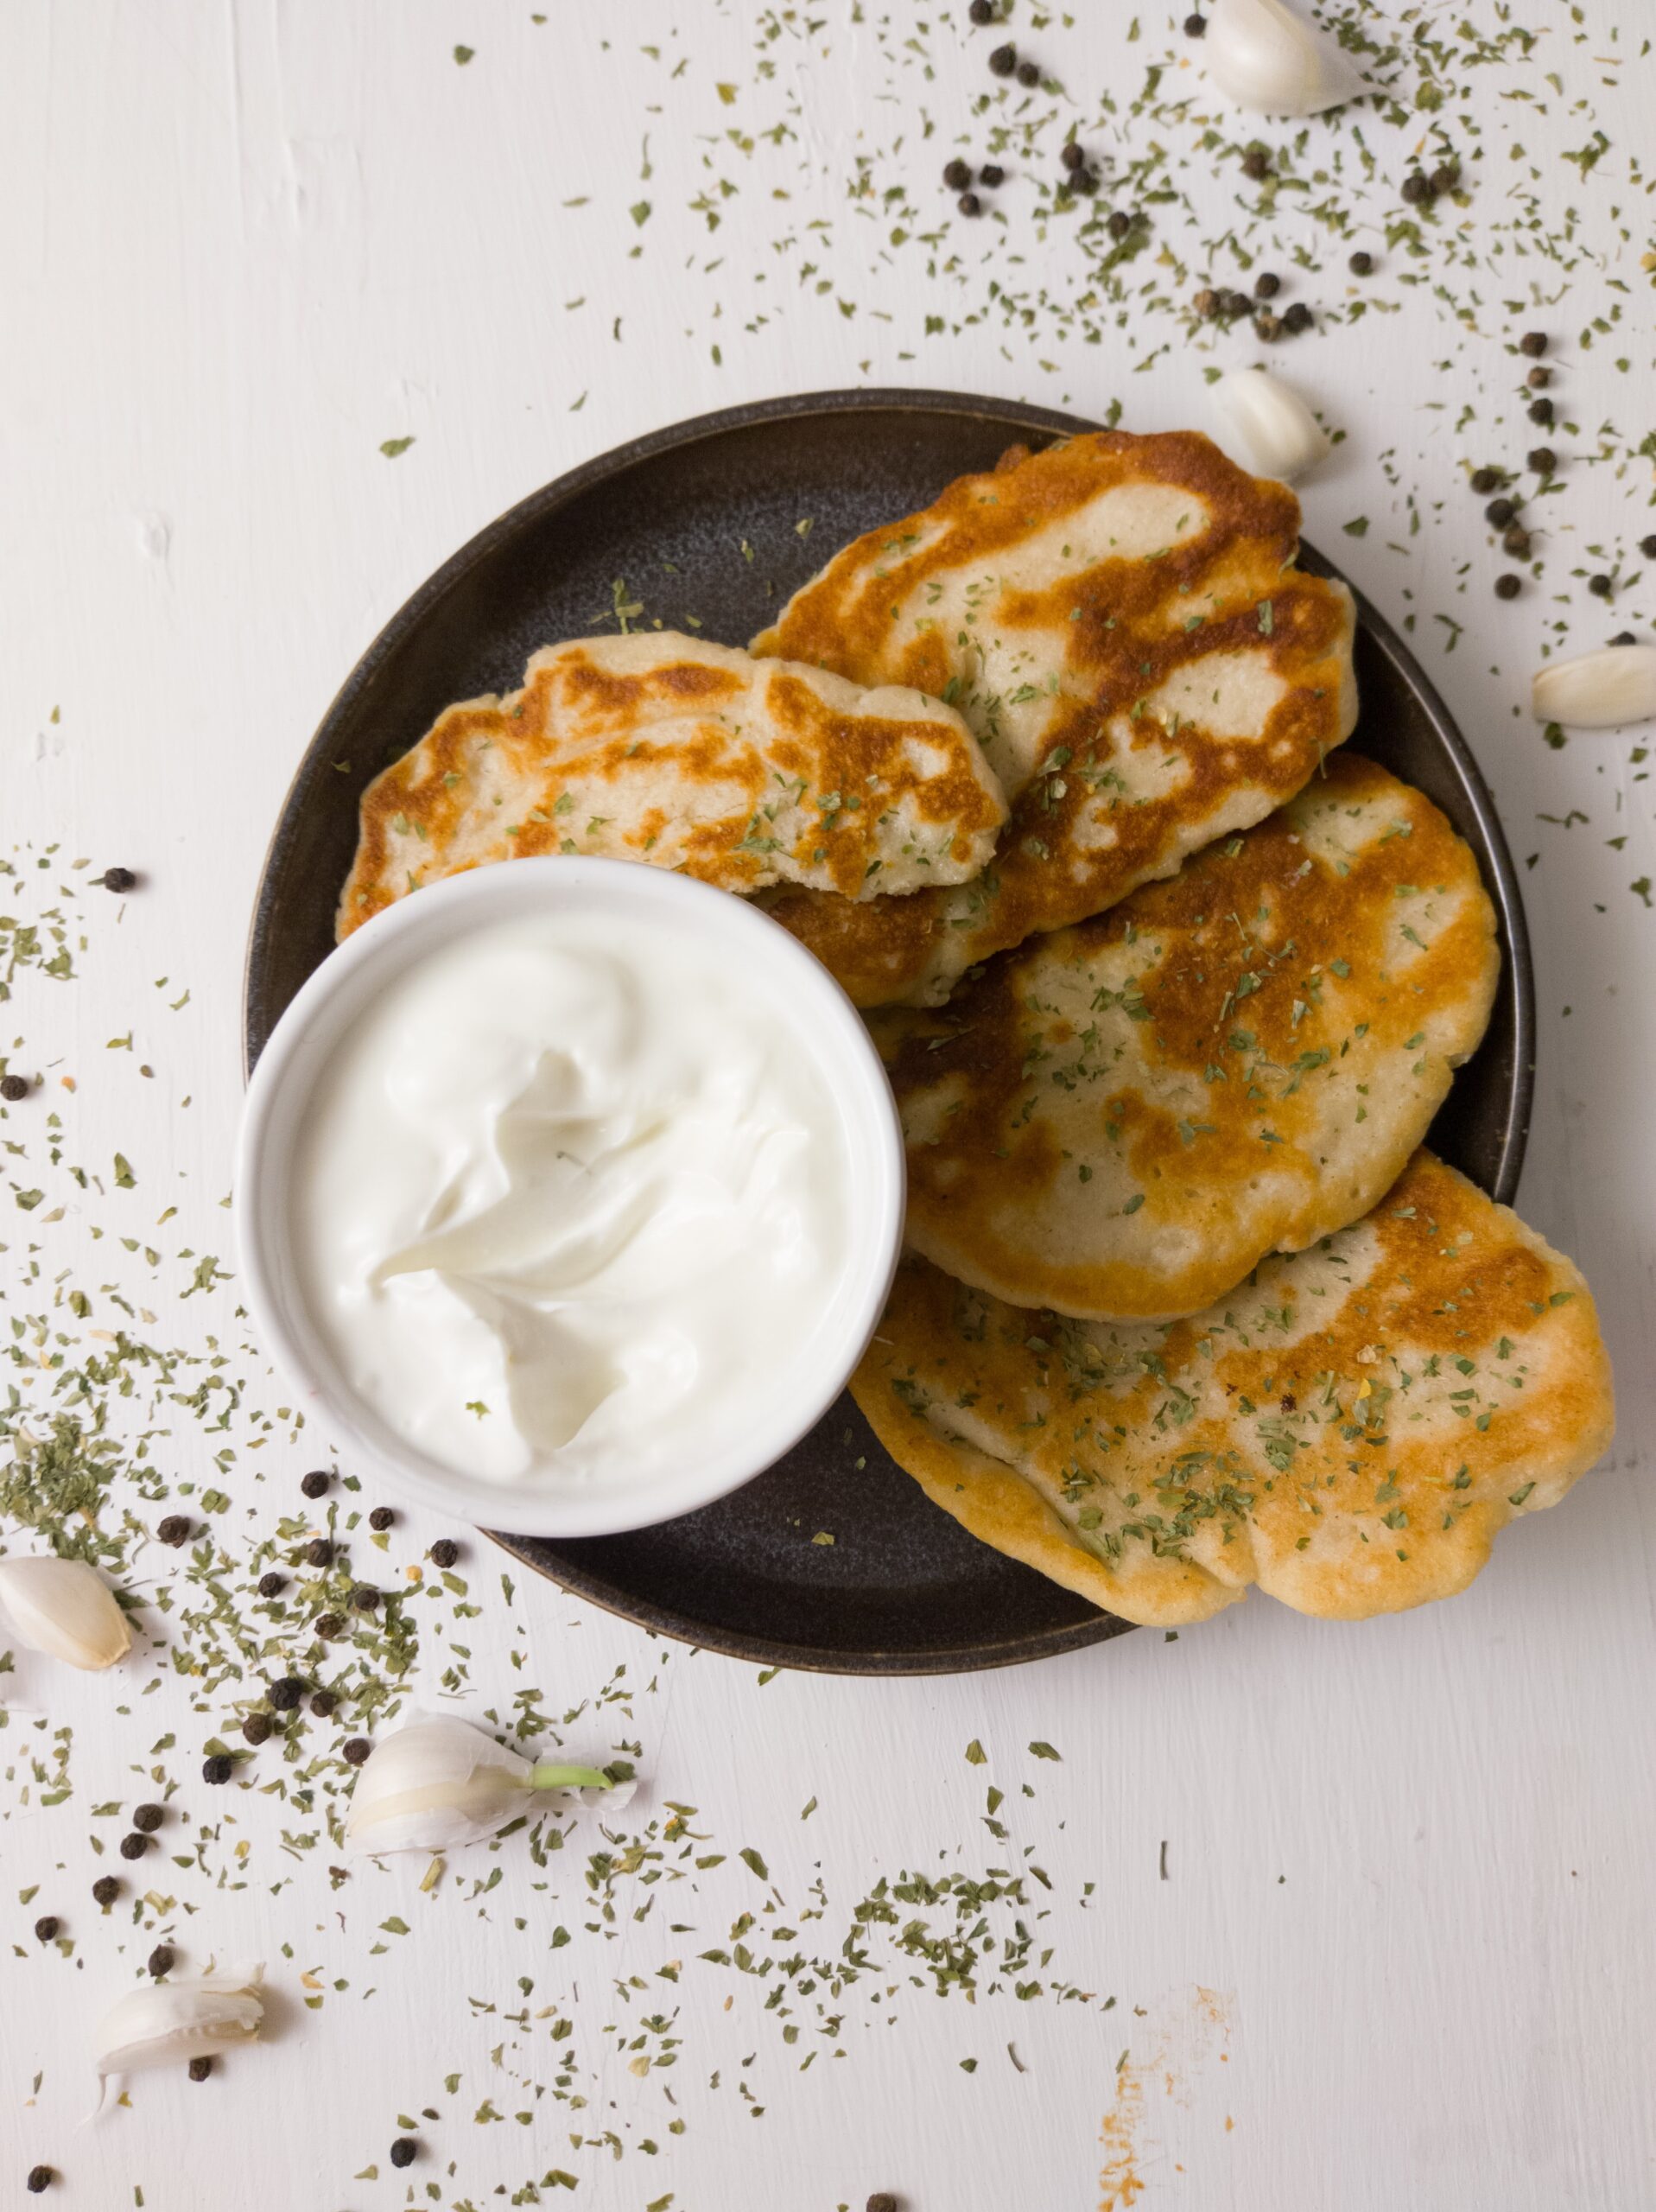
Gluten-Free Naan Bread
Imagine the enticing aroma of freshly baked bread wafting through your kitchen, tempting your taste buds with its warmth and aroma. Now, picture that same delicious experience but without the gluten. That’s the promise of our Gluten-Free Naan Bread recipe. It’s a culinary adventure that brings the magic of Indian cuisine right to your home, while also catering to dietary needs. In this article, we’ll embark on a gluten-free journey to craft these soft, pillowy delights from scratch.
Ingredients You’ll Need
Before we dive into the cooking process, let’s gather our ingredients. Here’s what you’ll need for this fantastic gluten-free naan bread:
- 2 cups gluten-free all-purpose flour
- 1 teaspoon xanthan gum (if not included in your flour mix)
- 1 teaspoon active dry yeast
- 1 teaspoon sugar
- 1 cup warm water
- 1/4 cup yogurt (dairy or dairy-free)
- 2 tablespoons olive oil
- 1 teaspoon salt
- 1/2 teaspoon baking powder
- Additional gluten-free flour for dusting
Step 1: Activate the Yeast (10 minutes)
Begin by activating the yeast. In a small bowl, combine the warm water, sugar, and active dry yeast. Give it a gentle stir, and then let it sit for about 5-10 minutes. You’ll know it’s ready when the mixture becomes frothy and effervescent.
Step 2: Prepare the Dry Ingredients (5 minutes)
While your yeast is activating, in a larger mixing bowl, combine the gluten-free all-purpose flour, xanthan gum (if not included in your flour mix), baking powder, and salt. Mix them together well, ensuring the dry ingredients are fully incorporated.
Step 3: Mix Wet Ingredients (5 minutes)
In a separate bowl, blend together the yogurt and olive oil. This adds moisture and richness to your gluten-free naan, ensuring it’s soft and delectable.
Step 4: Combine Everything (3 minutes)
Now, it’s time to bring it all together. Create a well in the center of your dry ingredients and pour in the yeast mixture and the yogurt and olive oil mixture. With a spatula or wooden spoon, gradually mix the wet and dry ingredients. Keep stirring until a dough starts to form.
Step 5: Knead the Dough (5 minutes)
Dust your work surface with a bit of the extra gluten-free flour. Turn the dough out onto this surface. Knead the dough for about 5 minutes, until it becomes smooth and elastic. If the dough is too sticky, you can add a bit more flour.
Step 6: First Rise (1 hour)
Place the dough in a lightly greased bowl and cover it with a clean kitchen towel or plastic wrap. Let it rise for about an hour, or until it has doubled in size. You can leave it in a warm, draft-free spot to expedite the process.
Step 7: Preheat Your Pan (5 minutes)
As the dough is rising, preheat a non-stick skillet or a cast-iron pan over medium-high heat. You want the pan to be nice and hot when you start cooking the naan.
Step 8: Divide and Shape (10 minutes)
Once the dough has doubled in size, punch it down to release any air bubbles. Divide it into small, golf ball-sized portions. Roll each portion into a ball and flatten it slightly with your hands.
Step 9: Roll Out the Naan (15 minutes)
Working with one dough ball at a time, place it on a clean, gluten-free floured surface. Gently roll it out into an oval or round shape, about 1/4 inch thick. You can use your hands to help stretch and shape the dough further.
Step 10: Cook the Naan (2-3 minutes per side)
Now, it’s time to cook your gluten-free naan. Place one flattened naan on the preheated pan. Cook for about 1-2 minutes on one side until it starts to puff up and you see bubbles forming. Then, flip it over and cook for another 1-2 minutes on the other side. It should have lovely golden-brown spots when done.
Step 11: Keep ‘Em Warm (5 minutes)
As you cook each naan, transfer it to a clean kitchen towel or a plate lined with parchment paper. Cover them with another kitchen towel to keep them warm and moist while you finish cooking the rest.
Step 12: Serve and Enjoy
Your homemade gluten-free naan bread is now ready to serve. It pairs wonderfully with a variety of dishes, from curries to grilled meats or as a simple snack with your favorite dips. Brush them with a bit of melted butter or garlic-infused olive oil for an extra layer of flavor.
Tips for Gluten-Free Naan Success
- Quality Gluten-Free Flour: Invest in a good-quality gluten-free all-purpose flour mix. The better the blend, the better your naan will turn out.
- Don’t Skip Xanthan Gum: If your flour mix doesn’t contain xanthan gum, make sure to add it separately. It helps mimic the elasticity of gluten.
- Flour for Dusting: When rolling out the naan, use gluten-free flour for dusting your work surface and the dough. It prevents sticking and helps create a smooth texture.
- Puffing and Bubbles: The key to soft naan is getting those signature bubbles. Don’t rush the cooking process; let them puff and develop those lovely brown spots.
- Experiment with Flavors: Feel free to experiment with flavors. Add minced garlic, chopped herbs, or even a sprinkle of seeds to your naan dough for a unique twist.
In Conclusion: Savor the Gluten-Free Delight
With this gluten-free naan recipe, you can enjoy the joy of homemade bread without the gluten. It’s a delightful addition to your gluten-free cooking repertoire, and it’s versatile enough to accompany a wide range of dishes or be enjoyed on its own. So, roll up your sleeves, prepare your ingredients, and embark on a journey of gluten-free culinary delight. Your taste buds will thank you.


Theone Politis
Can’t wait to try